
Is your freezer starting to look more like an ice cave than a kitchen essential? It might be time for a proper defrost. Understanding how to defrost your freezer is one of those practical skills that helps keep your appliance running efficiently and your food properly preserved.
Ice buildup limits storage space and forces the freezer to work harder, which can increase energy use and reduce its lifespan. Different types of refrigerators, from single-door units to side-by-side and bottom-freezer models, can experience frost differently, but regular defrosting remains essential. This guide walks through the causes of frost and a simple, effective process you can follow.
What Causes Frost Buildup Inside a Freezer?
Frost forms when warm, humid air enters the icebox and meets the cold interior surfaces. That moisture freezes almost instantly on contact. Over time, thin layers of ice accumulate into the thick, stubborn buildup that reduces space and strains the appliance. Manual-defrost models are especially prone to this since they have no automatic system to manage ice buildup.
Here are the most common reasons your freezer keeps frosting up:
- Leaving the icebox door open too long lets warm, humid air rush inside easily.
- A cracked or loose door gasket allows warm air to seep in continuously.
- Placing warm or hot food inside it releases steam that quickly freezes.
- An overpacked freezer restricts airflow and keeps the door from sealing properly.
- A faulty defrost heater in auto-defrost models can cause unexpected ice buildup.
- High indoor humidity levels increase the moisture load every time the door opens.
How to Defrost Your Freezer: Easy 5-Step Process
Before you begin, gather everything you need. You will want old towels or a plastic liner, a plastic scraper or wooden spoon, a few buckets or shallow pans, hot water, a soft cleaning cloth, and baking soda. Having your supplies ready before you unplug makes the whole process smoother and faster.
Step 1: Turn Off the Freezer and Empty It Completely
Turn off the cooling setting and unplug the icebox from the wall outlet. Remove all frozen items and wrap them in layers of newspaper or thick towels. Place the items in an insulated cooler along with ice packs to keep them cold, or place them in another freezer if one is available.
While everything is out, quickly sort through your items. Discard anything expired or heavily freezer-burned so it can be restocked neatly once the defrosting is complete.
Step 2: Set Up for Water Drainage
Check whether the icebox has a drain plug or a drain hose. If it does, remove the cap, attach the hose, and direct it into a bucket on the floor to collect the water. Some upright models may require removing the base grille to access the drain.
If no drain is available, line its base and the floor in front with towels or a plastic liner. Melting ice can produce more water than expected.
Step 3: Speed Up the Melting Process
Place a bowl or shallow pan of very hot water inside the freezer and leave the door open. The heat and steam help loosen the ice from the inside. Position a household fan near the door to push warm air into the compartment and help circulate it.
Replace the hot water every 15 minutes to keep the melting process going. While learning how to defrost your freezer quickly, this hot-water-and-fan method works especially well.
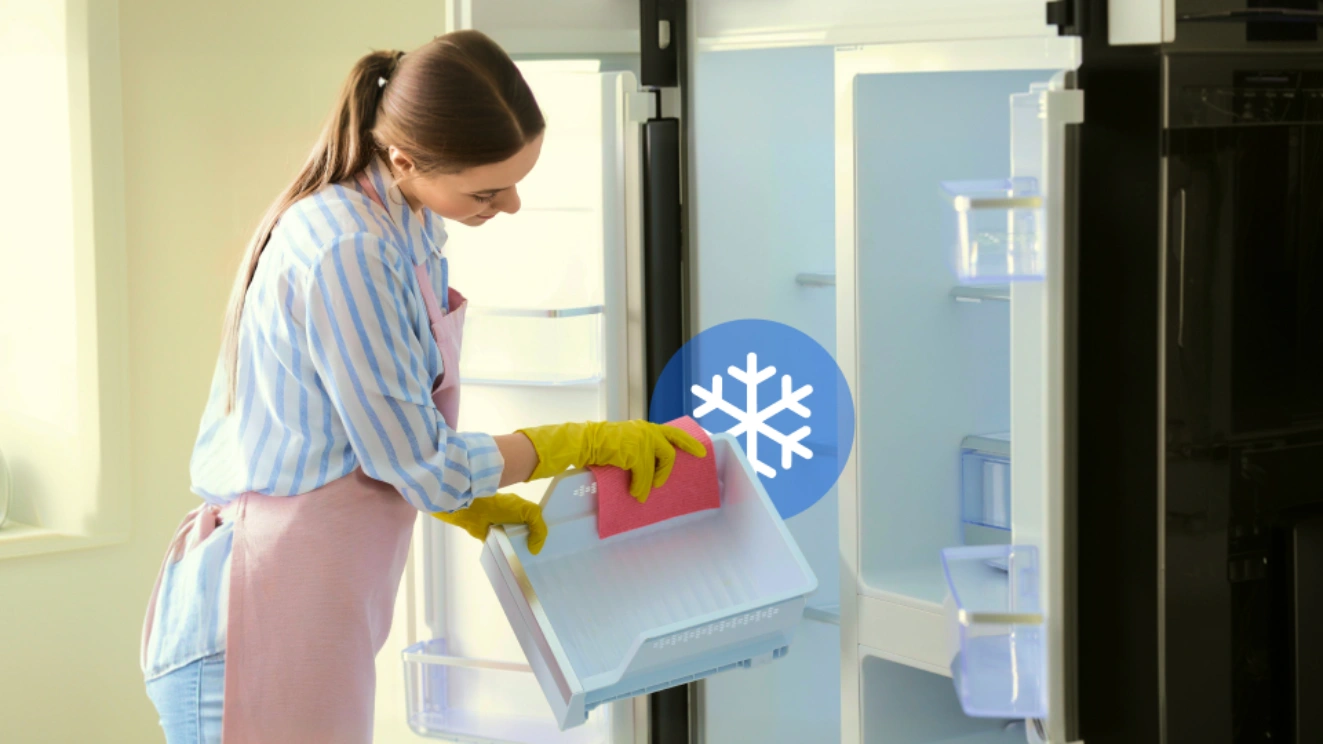
Step 4: Scrape, Wipe, and Wash the Interior
As the ice softens, carefully remove it using a plastic scraper or a wooden spoon. Work patiently and avoid prying under thick ice. Sharp tools such as knives, metal scrapers, or ice picks should never be used, as they can puncture the interior lining and permanently damage the icebox.
Once the ice is gone, wipe away leftover moisture with a soft cloth. Then wipe the interior using a mixture of two tablespoons of baking soda and one quart of warm water to clean surfaces and remove odors.
Step 5: Dry Completely and Restore Power
Use a clean, dry cloth to wipe every surface inside the freezer, including corners and edges. Any leftover moisture can refreeze quickly once the appliance is powered back on, starting the frost cycle all over again. A thorough dry-down is one of the most important steps people tend to rush.
Once the interior is fully dry, plug it in and set the temperature to 0 degrees Fahrenheit. Allow it to cool for a few hours before reloading food. Chest freezers may need up to 24 hours to stabilize fully. Reload items in an organized way and label anything without a clear date.
How Often Should a Freezer Be Defrosted?
Defrost it when frost buildup reaches about one-quarter inch thick. For most households, this means at least once a year. In high-humidity climates or homes where the freezer door is opened frequently, every three to six months is more appropriate. Manual-defrost models need attention on a stricter schedule than auto-defrost units.
Make it a habit to check the interior walls every couple of months. Catching light frost early takes far less time than dealing with heavy buildup. A quick visual check costs nothing and keeps the appliance running at its best year-round.
How Much Time is Needed to Defrost a Freezer?
For most households, the full process takes around two hours from start to finish. That includes unplugging, melting, cleaning, drying, and restarting the unit. Thicker ice buildup, larger capacity, and cooler room temperatures can push the total closer to three or four hours.
To understand how long does it take to defrost your freezer in your specific case, start by considering when it was last defrosted. The thickness of the current frost layer can also give a good indication of how much time the process may take.
Light, routine frost melts quickly. Heavy, neglected buildup takes longer and requires more patience. Never stab or poke at thick ice to rush the process, as doing so can damage the lining or coils.
What are the Best Ways to Prevent Frost Build-Up in a Freezer?
Prevention is always easier than a full defrost session. These habits help keep frost from forming in the first place:
Maintain the freezer temperature at 0°F consistently. The USDA Food Safety and Inspection Service also recommends freezer temperatures to be set at 0 degrees F for food safety.
- Open the door only when necessary and close it as quickly as possible.
- Inspect the door gasket monthly for cracks, tears, or looseness.
- Allow food to cool completely before placing it in the icebox.
- Do not pack it so tightly that it blocks the door seal.
- Use moisture-proof, freezer-safe wraps and containers for all stored items.
- Clean the condenser coils periodically to support efficient temperature regulation.
What Are Some Handy Tips for Defrosting a Freezer?
A bit of planning ahead makes the whole job faster and far less stressful. Keep these pointers in mind:
- Plan meals around your freezer stock in the week before defrost day.
- Replace the hot water in your bowl every 15 minutes to sustain the melt.
- Keep the freezer door fully open while defrosting to allow warm air in.
- Use only a plastic scraper or wooden spoon to remove ice from surfaces.
- Reorganize food as you reload, placing older items toward the front.
- Clean the exterior using a soft sponge with warm, soapy water.
- Confirm the interior is bone-dry before plugging the unit back in.
When Does a Frost Problem Need Professional Repair?
If thick frost returns soon after a full defrost, the issue may be mechanical. A faulty defrost heater, thermostat, or damaged wiring can cause recurring ice buildup. These components require a trained technician, so it’s best to avoid attempting repairs yourself.
Many homeowners like you rely on a home appliance protection plan for situations like this. These plans often cover repair costs when appliance components fail from normal wear. Checking the details of your home warranty beforehand helps clarify coverage and avoid unexpected repair expenses.
Keep the Chill Without the Ice. You Have Got This!
Defrosting your freezer does not have to be a dreaded chore. With the right prep, the right tools, and a little patience, it becomes a straightforward part of looking after your home. Think of it less as a task and more as an investment in your appliance, your food, and your monthly budget. Do it regularly, stay consistent with the preventive habits, and your icebox will quietly keep doing its job without giving you a single headache.
Also, pair that routine with a few preventive habits and a home warranty plan. Your freezer will reward you with years of reliable and efficient performance.


1-800-388-1918
Protect Your Property, Secure Your Peace: Your Plan Starts Here.